- Creating pages for new meetings or officers
- Creating gallery pages and linking them to other pages
- Archiving events on the event page
- Updating officers page
Creating pages for new meetings or officers
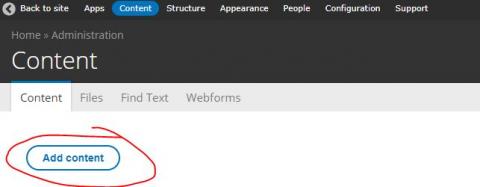
- Click content on the top of the page
- Click add content
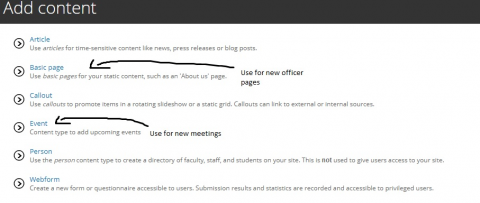
- Click on the desired page to create
Creating gallery pages and linking them to other pages
- Create a new basic page using the instructions above
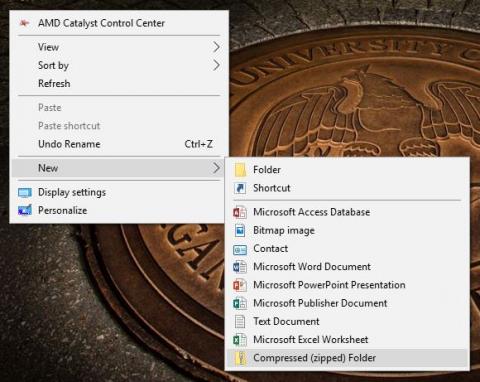
- Move all desired photos into a folder on your computer
- Create a new Compressed (zipped) folder and copy all photos from the regular folder to the zipped folder
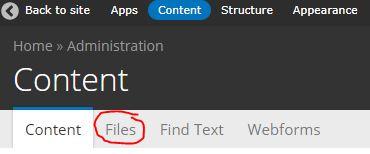
- On the IAAPT website head to content
- Click on Files
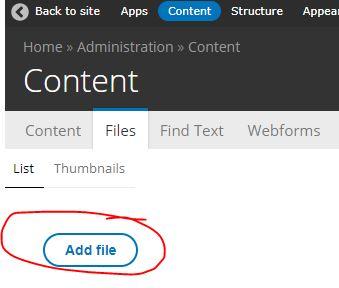
- Click Add file
- Click on Archive
- Choose the zipped folder, click upload, and then submit. This is still buggy so there could be errors when trying this; keep trying until the files are submitted through.
- If you get an error like this after clicking submit : just click the back button and try again.

- If you get an error after clicking upload just try uploading again until it works.
- If you get an error like this after clicking submit :
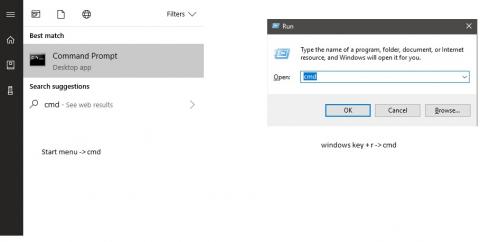
- Open up the command prompt. To do this either: click the windows and r and the same time and type in "cmd" or click the start menu and type in cmd
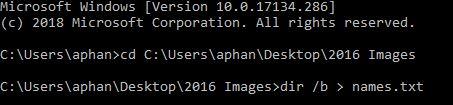
- Inside the command prompt type "cd" and then the location of your regular folder with all of the images.
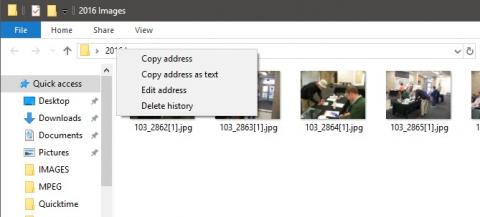
- To get the location of your folder open it up and on the top bar with it's name right click it and then select copy address as text
- To paste to the command prompt, press ctrl and v at the same time.
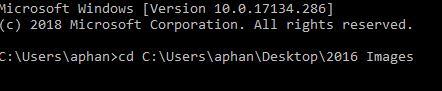
- To get the location of your folder open it up and on the top bar with it's name right click it and then select copy address as text
- Press enter and now the command prompt should be in the location of your folder
- Type in "dir /b > names.txt" and press enter
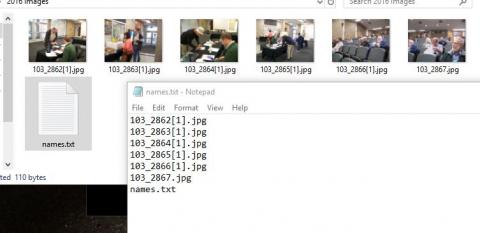
- In your folder should now be a .txt file called names. The text file contains the name of all file names inside the folder.
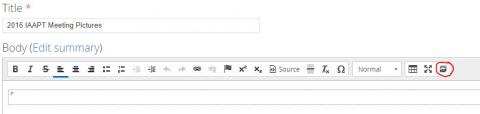
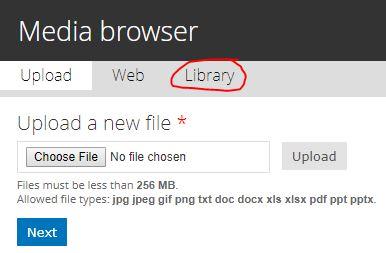
- Going back to the page you created click on the upload media browser button
- Click on library
- Using the text file called names, copy a line from the file and paste it into the text area under File name and click apply
- Double click the image and click submit. Repeat this process for each photo
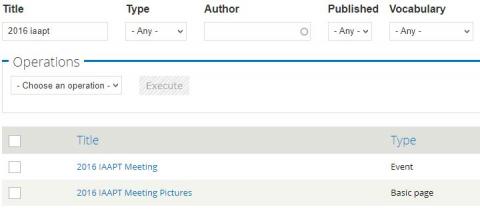
- After each photo is done being uploaded head back to content
- Search for the page you want to link the gallery to and click it.
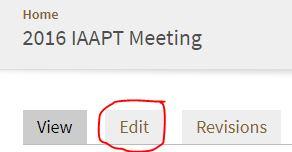
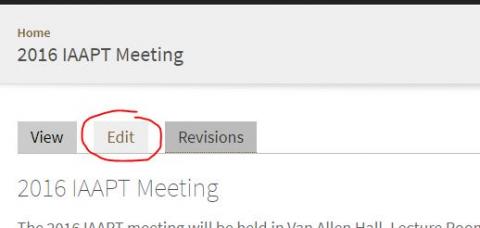
- Once on the page click edit
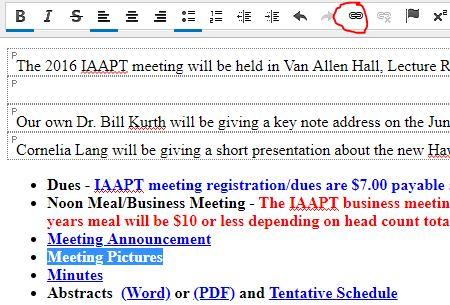
- Type in the text you want to link the gallery to. Highlight it and click the link button
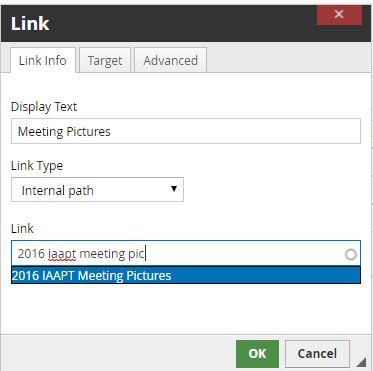
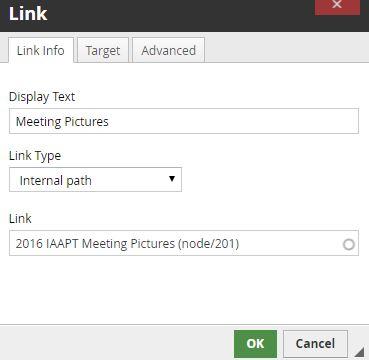
- for Link Type, Internal path should be selected. On the Link textbox type in the gallery page created and click it
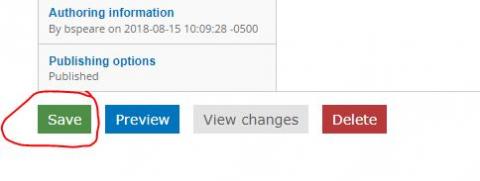
- Scroll to the bottom of the page and click save


Archiving events on the event page
- Head to the page you want to archive and select edit.
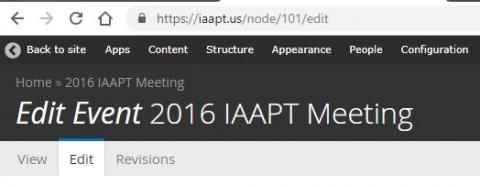
- Look at the address bar on the top of the page and take note of the number after node/.
- Click Back to site and head to events
-
- Select Customize this page at the bottom of the page
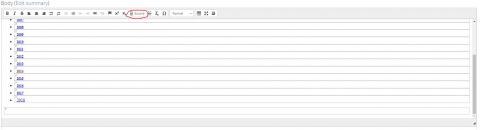
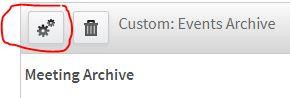
- Scroll down until you see Custom: Events Archive. Click on the two gears
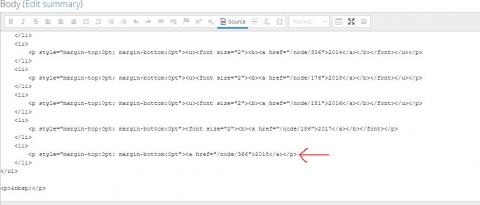
- Click on source
- Scroll to where you want the event to be and add a new line.
- Copy another meeting already present. After the "node/" text add in the number you got from earlier and change the text to match what you want it to be.
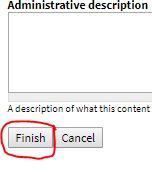
- Scroll to the bottom and click finish. Then click save.


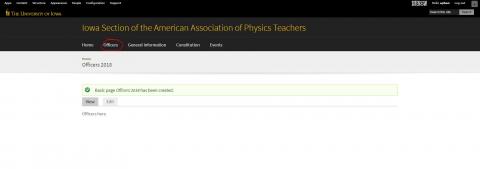
Updating officers page
- Create new page using the instructions on the top of the page and head to the officers page
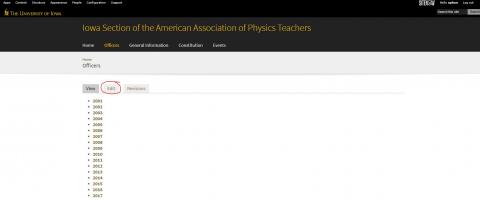
- Click edit
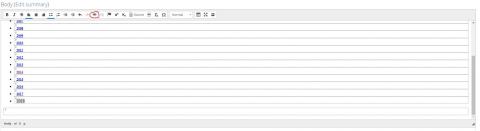
- Scroll to the bottom of the body text area and add a new bullet point with the year to be added. Highlight the text and click on the link button
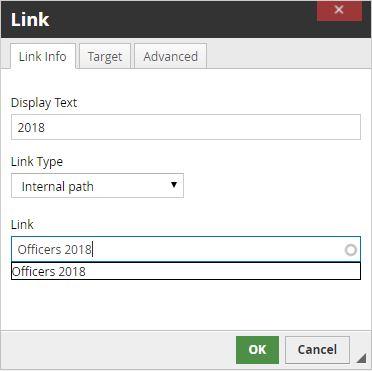
- For Link Type select internal path and in Link type the name of the page you created earlier
- Scroll to the bottom of the page and click save
- If the text you just added doesn't match the font of the rest of the page head source in the edit page
- Scroll to the bottom of body and find the text you want to match
- In the texts above it find the brackets < > that are missing from your text and add them in the same position